How to Brew with the Syphon Brewer / Vacuum Pot
Also known as a vacuum pot. This brewer is a very old yet exceedingly entertaining way to make coffee. The whole process of the syphon brewer is a pleasing application of physics.
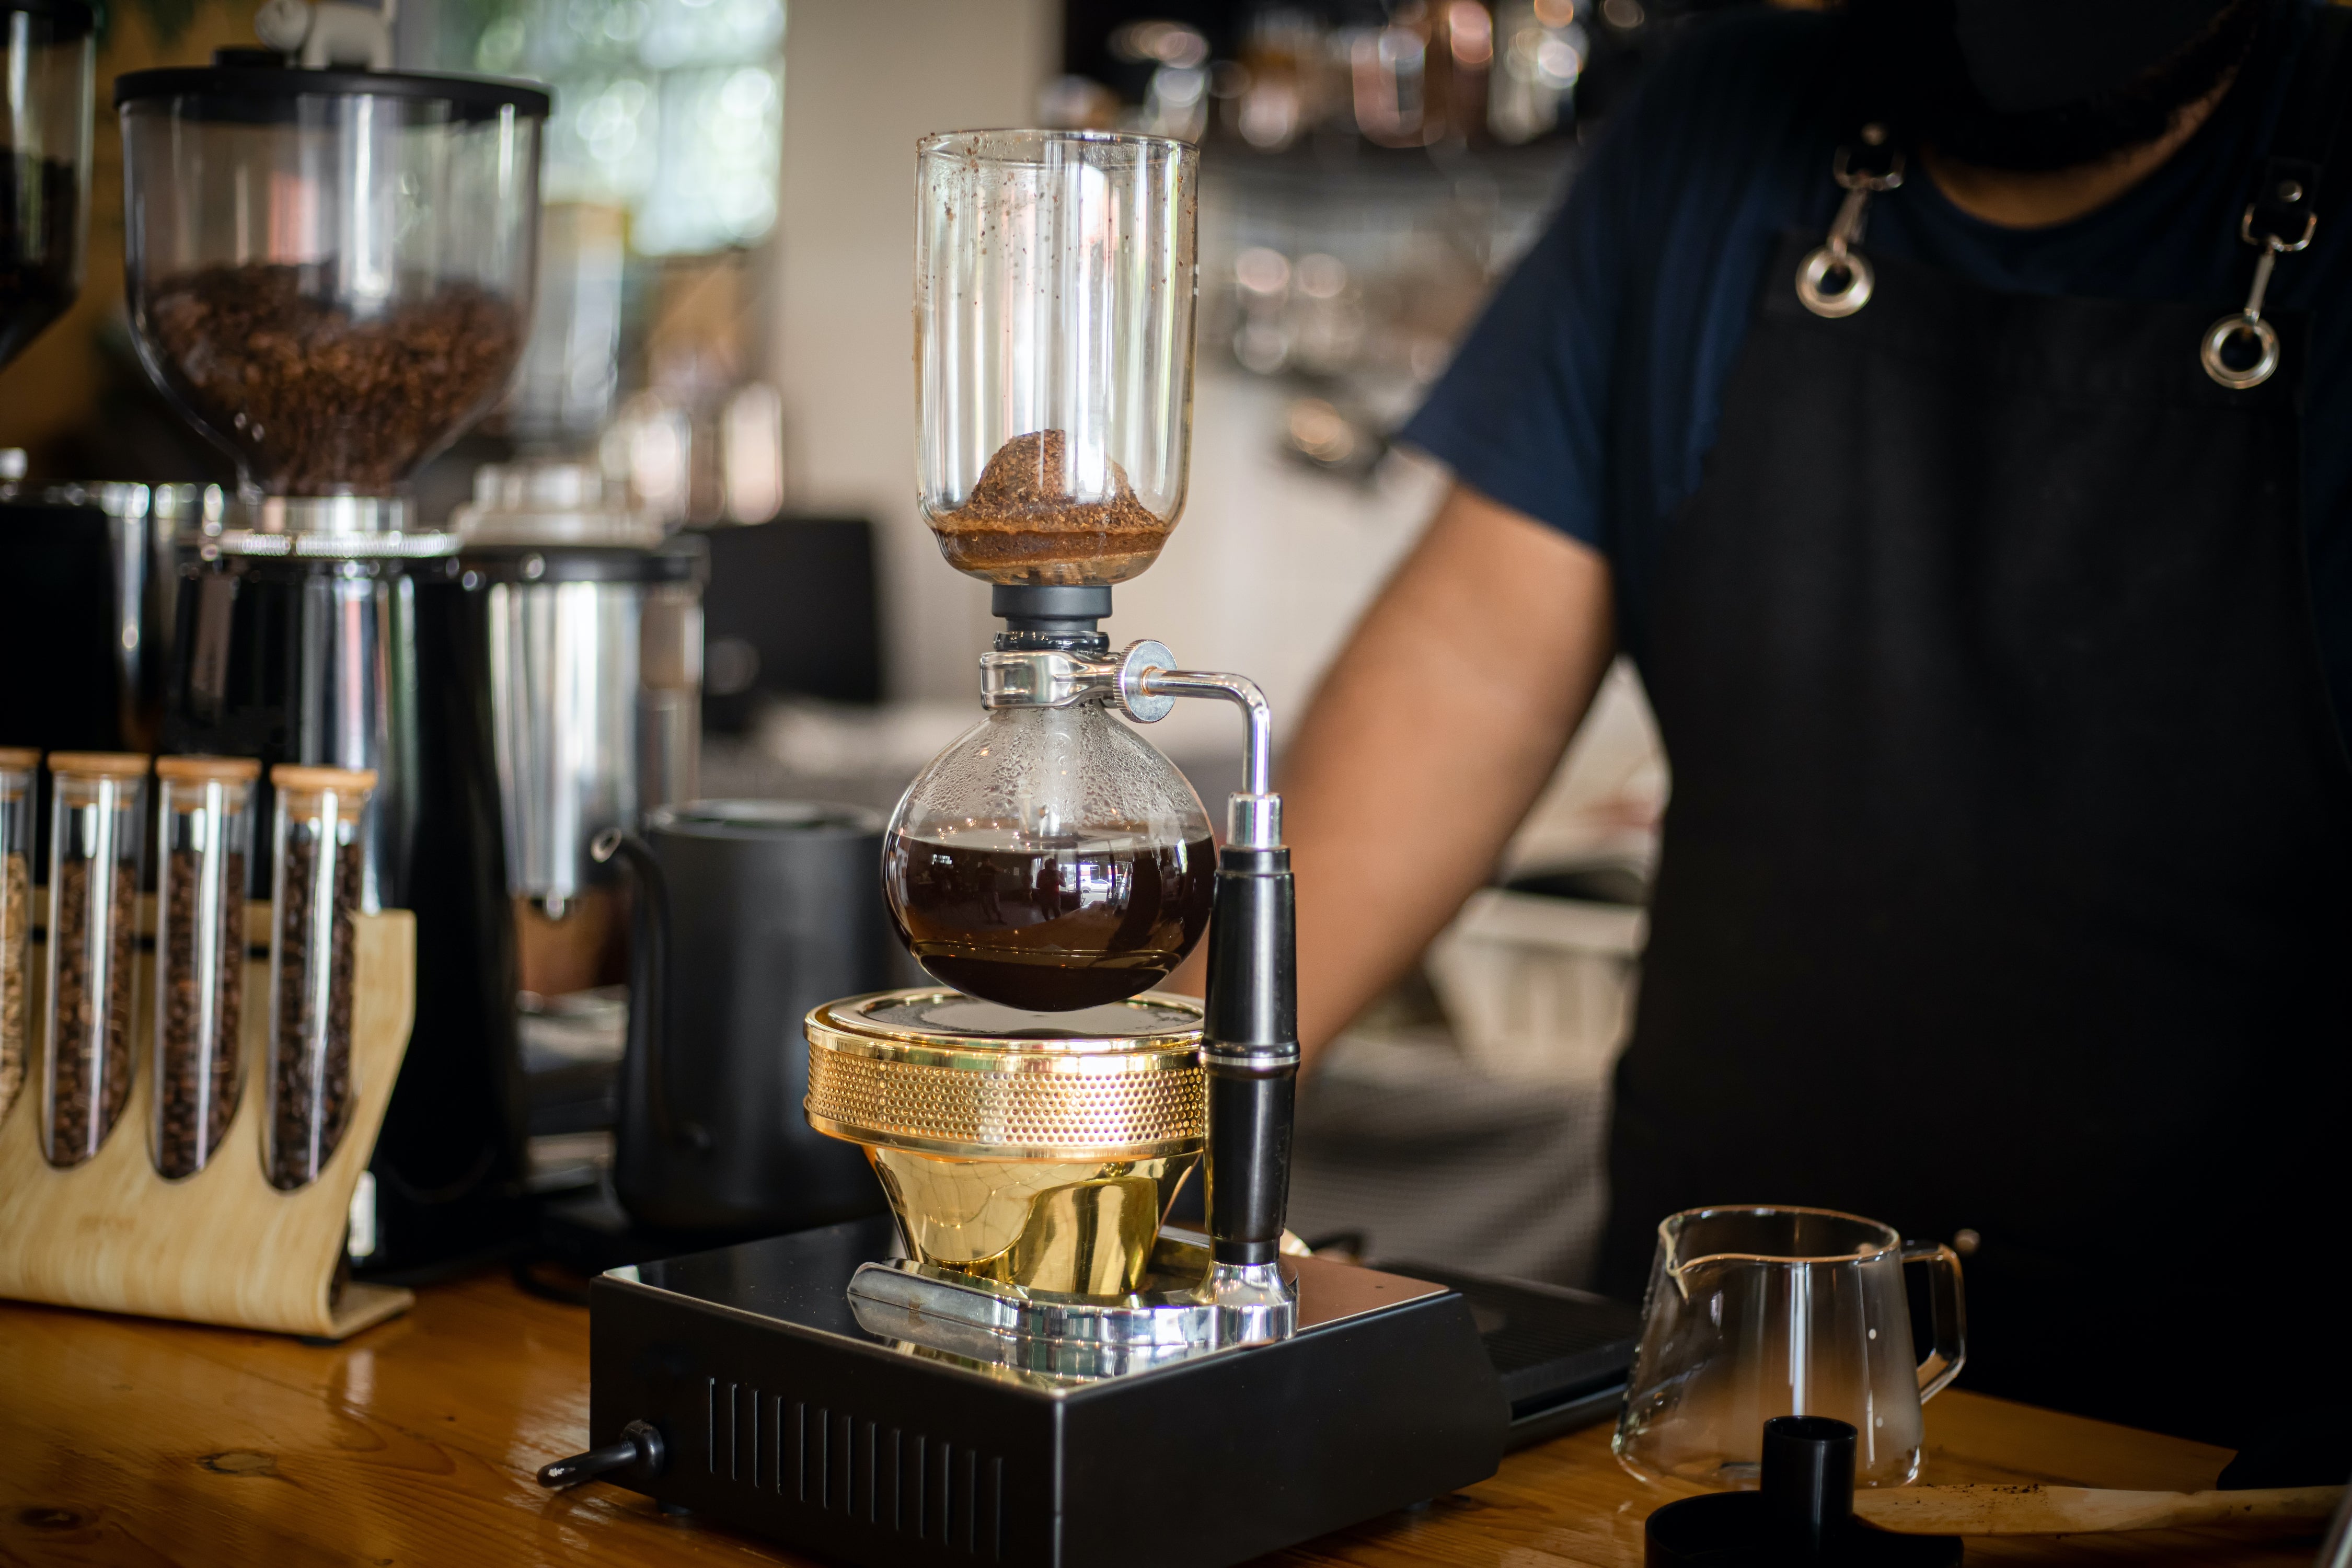
The brewer is built of two chambers, the lower of which is filled with water and heated to boiling point. The upper chamber, which contains the ground coffee, is then placed on top, creating a seal allowing steam to build up in the lower chamber. Eventually, this trapped steam will push the water from the bottom chamber up through a tube and a filter into the upper chamber. At this point, the water is just below boiling point making it suitable for making coffee. The brew is left to steep for a desired amount of time, during this steeping time it is important to keep heating the lower chamber. To finish the brew, the vacuum pot is removed from the heat source. As the steam cools, it condenses back into water which creates a vacuum, sucking the coffee from the upper chamber back through the filter into the bottom chamber. The grounds remain in the upper chamber separated from the coffee which is ready to be poured from the bottom carafe.
The Ratio
We recommend 26-27g of ground coffee per 12oz cup of coffee. Some people prefer to use a little more coffee than this for syphon brewing.
The Grind
We recommend a medium grind. Going too fine can stall the draw-down process to end the brewing, going too coarse can lead to longer brewing time which can make the brew overly bitter.
Steps to Brewing with the Syphon Brewer
-
Grind the coffee just before you start brewing. Be sure to weigh the coffee first.
-
Boil a kettle/pot of fresh water suitable for brewing coffee.
-
Fit the filter into the upper chamber, making sure it is completely flush.
-
Place the bottom chamber on a scale and pour in the calculated amount of hot water.
-
Transfer the lower chamber to a heat source (ex. Small butane burner, alcohol burner, or halogen lamp).
-
Place the upper chamber on top, but do not seal it yet. Sealing too soon can result in the expanding gases to push the water up into the top chamber before it is the right temperature, making your resulting brew taste bad.
-
Once the water starts to boil, seal the top chamber on top of the lower chamber. If you are using a controllable heat source, reduce the heat to low at this point.
-
The boiling water will now start pushing up into the top chamber. Look directly down on the filter to make sure it is centered, if not you will see lots of bubbles flowing from one side. With a paddle/spoon correctly position the filter by pushing it in place.
-
Initially the bubbling in the top chamber will be aggressive with large bubbles. The bubbles will gradually become smaller, when it becomes smaller you are ready to brew.
-
Add the ground coffee to the water and stir it in until it is all wet.
-
You will see a crust form at the top, wait 30 secs, then give it another gentle stir.
-
After another 30 secs, turn off the heat source.
-
The coffee will begin to draw down into the lower chamber, allow it to draw down completely. A slightly domed bed of grounds will be left in the top chamber.
-
Time to pour your cup of coffee and enjoy.
Empty content. Please select article to preview


